7 Best Ways to Cure UV Resin Faster
Curing UV resin faster is not simply a matter of choosing the strongest lamp. Resin thickness, pigment, lamp wavelength, and distance all affect how light reaches the material. A small pendant may harden quickly, while a cloudy, deep pour can remain tacky beneath its surface. That difference matters.
This guide explores seven practical ways to Cure Uv Resin faster, from selecting a compatible lamp to applying thinner layers and positioning the piece carefully. Photopolymerization researcher Christopher N. Bowman provides a useful scientific perspective: his work examines how light-driven reactions form polymer materials. No verified direct quotation from Bowman about craft UV resin was provided, so this introduction does not invent one. That distinction matters when expert advice is presented as fact.
Expect practical details, not a miracle trick. A clean, dry mold, steady lamp placement, and careful exposure can improve results, but they cannot overcome every resin’s limits. Some pigments block light. Some lamps do not match the resin’s specified wavelength. And a surface that feels firm may hide uncured material underneath. Not ideal.
Use the product maker’s instructions as your baseline, then test small samples before changing your routine. Record the lamp type, layer depth, and curing time. Those notes can reveal what works with your materials—and what needs another look.
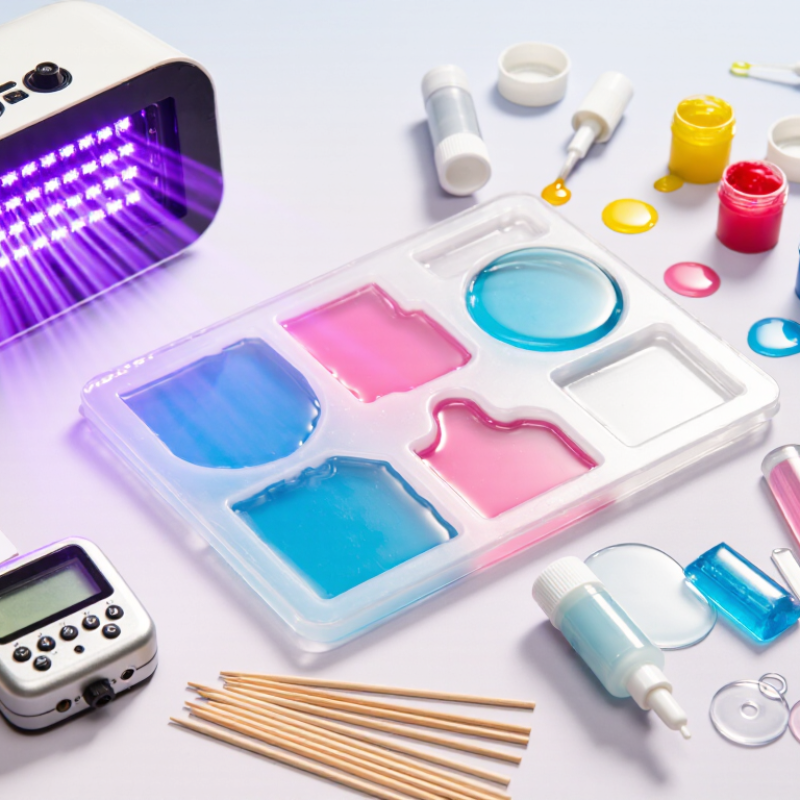
How UV Resin Curing Works
How UV Resin Curing Works
UV resin hardens through a light-triggered chemical reaction, not simply because it gets warm. Light reaches photoinitiators in the resin, which then start polymer chains linking into a solid network. CIE’s International Lighting Vocabulary defines UVA as 315–400 nanometres; many curing lamps operate near this region, though the resin’s specified wavelength matters. Match the lamp to the resin. More light is not automatically better.
Curing depends on wavelength, irradiance, exposure time, and how far light can penetrate. RadTech’s UV/EB curing technical resources describe exposure dose as irradiance delivered over time, commonly measured in millijoules per square centimetre. A lamp’s wattage alone cannot confirm the dose reaching a small pendant or a deep mold. Pigments, glitter, thick pours, and shadows can block light, leaving a firm surface over softer resin. That is easy to miss.
For a practical check, follow the resin maker’s stated wavelength and layer-depth guidance, then test a small sample. Rotate opaque or curved pieces so light reaches more than one face. A UV radiometer can help assess output, but readings depend on wavelength and meter calibration. I have seen apparently cured pieces remain tacky in recessed details; that is a reminder that surface feel is an imperfect test. Wear suitable eye and skin protection, and avoid staring into an operating UV lamp.
Prepare the Resin and Work Area for Efficient Curing
Efficient UV-resin curing starts with a clean, steady workspace. Wipe the table, then cover it with a disposable, non-porous sheet. Dust, loose fibers, and moisture can spoil a smooth finish. Keep small tools within reach so you do not need to move the piece mid-cure. Wear suitable gloves, avoid skin contact, and follow the resin’s safety instructions.
Tips: Check the resin’s recommended lamp wavelength and curing time. Keep the work area ventilated. Use thin layers; thick or opaque sections may stay soft inside. A quick setup check can save a failed pour.
Before pouring, make sure the mold or surface is dry and level. Keep the resin within its recommended working temperature, and avoid heating it directly. Cooler resin may flow slowly, while excess heat can affect handling. I can be tempted to rush past these checks, but a crooked mold or dusty edge is hard to fix later. Position the lamp so light reaches the whole piece, and leave room to rotate it if needed. Don’t assume the top looks cured means every side is ready. Follow the product directions and inspect the piece before handling it.
Choose a UV Lamp with the Right Wavelength and Power
A lamp can look bright and still cure resin slowly. The key is matching its wavelength to the resin’s photoinitiator. Check the product instructions before choosing a lamp; many resins respond best around 365 nm or 405 nm, but formulations differ. A 365 nm lamp may suit one resin, while another needs 405 nm. Match the label. Using the wrong wavelength can leave a sticky surface or soft spots beneath it.
Power matters, too. But wattage alone does not tell you how much UV reaches the work. Lamp distance, beam coverage, and the resin’s depth all affect curing time. Keep the lamp close enough for even exposure, following its safety instructions, and rotate pieces with shaded edges.
Thin layers usually cure more reliably than one thick pour. Give the resin the full recommended exposure, then check a discreet area for tackiness or softness. A quick surface check can mislead; the center may still be uncured. I’d avoid guessing when the instructions are vague—small test pours are slower, but they can save a whole project.
Cure Thin Layers at the Correct Distance
Keep the lamp close enough for even exposure, but measure the gap from the light-emitting face to the resin surface. RadTech’s UV-curing technical guidance highlights irradiance, exposure time, and wavelength match as key process variables. Distance changes irradiance: under the inverse-square rule, doubling the distance can reduce intensity to about one-quarter. Real lamps have uneven beams, so treat that figure as a guide, not a guarantee. Small changes matter.
For thin layers, begin with the resin maker’s stated wavelength and layer thickness, then test a small sample. A layer around 0.5 millimeters is easier to check than a deep pour. Keep the lamp at a fixed distance, and use a UV radiometer at the resin surface when available; a timer alone cannot confirm delivered energy. Watch the sample’s edges and center for tackiness or uneven hardness. I still find this easy to misjudge. That is the point. Adjust one variable at a time: distance, exposure time, or layer thickness. Record the result, since a warm room, cloudy resin, or aging lamp can change curing performance. Follow the resin’s safety instructions, and avoid touching uncured material.
7 Best Ways to Cure UV Resin Faster: Cure Thin Layers at the Correct Distance
Why distance matters: UV intensity generally decreases as the lamp moves farther from the resin. These values are estimates based on the inverse-square model, relative to a 5 cm distance. For more even, reliable curing, apply thin layers and follow the resin and lamp manufacturers’ recommended distance and exposure time. Actual results vary with the lamp, resin, and setup.
Use Multiple Light Sources or Sunlight to Speed Up Curing
UV resin cures faster when its full surface receives the wavelength it needs, often 365 or 405 nanometres. Check the resin’s instructions before combining lamps; a brighter lamp outside its effective range may add little. Two compatible lights can reduce shadows on a small mould. Angle them from opposite sides, keep them at a consistent distance, and rotate the piece if its underside remains tacky. Distance matters. Avoid placing lamps so close that heat distorts the resin or mould.
Sunlight is a useful backup, but its intensity shifts with clouds, season, time, and window glass. ASTM G173’s AM1.5 reference spectrum specifies 1,000 watts per square metre of total sunlight irradiance; that figure is not 1,000 watts of curing UV. The distinction matters. Direct sun may help thin, clear pieces, while pigmented or thick pours can stay soft inside. Test a small sample and inspect the centre before handling the finished piece. I would not treat a dry surface as proof of a complete cure. Wear eye protection, avoid looking into UV lamps, and follow the resin’s safety instructions.